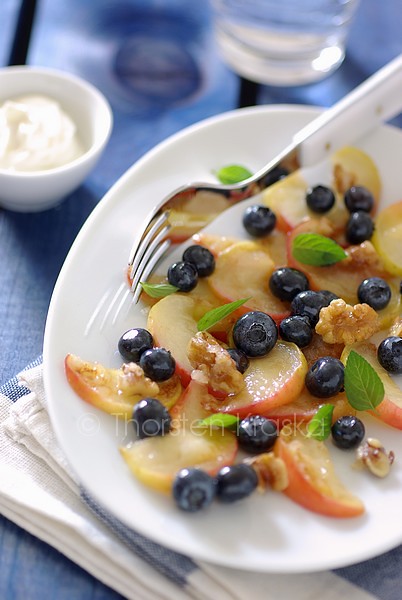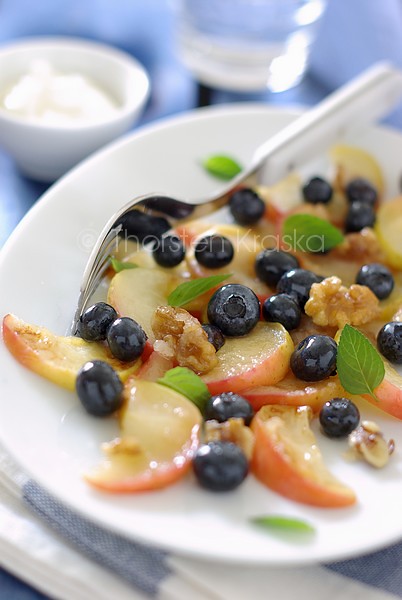
© All rights reserved, Thorsten Kraska, 2010
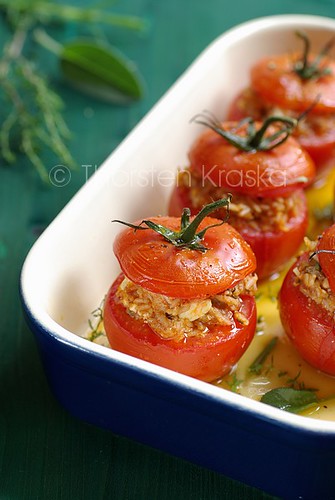
These filled tomatoes bring together some mediterranean herbs with rice, miunced meat and feta cheese. The filled tomatoes are easy to make and you can easily made them in advance and also for many guests. You can serve them straight from the oven or even just luke warm. If you have some leftovers, out them in the freezer for the next day. Re-heat them in the oven for 10 minutes.
Mediterranean Filled Tomatoes
(depending on size, for about 8 tomatoes)
100 g rice (cooked and cooled)
2 medium sized onions
1 garlic clove
150 mL Olive Oil
250 g minced meat
150 g Feta Cheese
4 sprigs Thyme (about 10 cm long, just the leaves)
3 sprigs Rosemary (about 10 cm long, jsut the leaves)
5 Sage Leaves
2 heeped teaspoons paprika powder
salt and pepper to taste.
Chop onions and garlic clove and cook them in about 50 mL of the olive oil over medium high heat until softened. Remove from heat and let cool down. Add minced meat and rice and mix. Cut the leaves of rosemary and sage into pieces and add them with the thyme leaves to mixture. Add paprika powder and mix all to form the filling. Crumble the feta cheese into mixture and mix carefully so that the cheese still show some bigger pieces. Add salt and pepper to taste, but take into account that the feta is already salty. Set aside.
Wash and clean tomatoes. Cut off the upper part to form the lid. Let the stem remain on the tomatoes. Using a teaspoon removed the flesh and inside of the tomatoes so that you can fill the tomatoes. Don't thow the flesh away. You can make a great tomato juice from it, just puree it.
Preheat oven to 200 C. Fill the tomatoes with the filling generousely. During baking the filling will shrink a bit. Set the tomatoes losely into an oven proofed dish and drizzle the rest of the olive oil over the tomatoes. Salt and pepper the tomatoes again to taste. You can add an additional sprig of thyme or rosemary to flavor the olove oil during baking, but keep an eye on the herbs, because they should not gett too brown. Bake tomatoes for about 20 minutes. To avoid browning of the green stems you can wrap or cover them losely with aluminium foil. After 10 minutes you can brush the tomatoes with the olive oil again.
Remove from oven and serve with toasted baguette.
About the photo
Almost no propping this time (except for some herbs in the back). I wanted a minimalsitic setting to refer to the "straight from the oven" idea. To mbring out the red of the tomatoes I have used a backlight and slightly over exposed the image. To make the red work I used a well saturated green as color contrast. This complimentary color contrast can make the red more dominant, especially if the green is not as bright as the red. With the blue of the oven proofed dish and the yellow of the olive oil I have together the proimary colors (red, blue and yello) which is a very active and popping color triangle, which often gives the impression of freshness and sunny feeling. I alos used a cool-vs-warm color contrast. The red and yellow are the warm colors (food) which are in contrast to the cool colors green and blue (background, dish). As main structural element I have used the diagonal line made by the tomatoes. Together with the fron side of the oven proofed dish they make a triangle which opens to the front side. At last I have focussed on one tomato only and make it dominant. The other tomatoes are blurry or cropped. There was not much of styling. I have just selected the tomato which should be in front and placed the other behind and beside. The whole arrangement was done in less thean 5 minutes, because the overall arrangement was made while the tomatoes were in the oven. After I have had my tomatoes I tried other settings with the leftover tomatoes, but nothing worked as this setting: straight from the oven.


